![]()
Koding is an online development environment where you can create and run apps in the cloud. The platform encourages collaboration and social interaction with an integrated activity stream where you can post status updates, code snippets and topics for discussion.
Koding includes an Ace code editor and a Linux terminal to your own private virtual machine where you can build applications or work with popular apps from its catalog. It currently supports Python, Java, Perl, Node.js, Ruby, C, C++, PHP, and Go. Setting up a WordPress development environment is simple and can be done in just a few minutes. In this tutorial we’re going to walk through the process step-by-step.
Step 1: Sign Up for Koding
While Koding has several pricing options, you can set up a WordPress site on the free developer plan without a problem. This is great for some light testing and experimenting. However, your VMs will be turned off within 15 minutes of idle time, deleting all of your sessions. Files are saved but it’s annoying to have to restart your VM, so you may want to upgrade if you end up using Koding regularly.
Step 2: Install WordPress
After you sign up with Koding and confirm your email address, you should already have your first VM set up, i.e. vm-0.username.kd.io. Navigate to the apps catalog and select WordPress.

Click on the button to install WordPress instantly. If you’re prompted for your password while the install script is running, simply press enter twice. You shouldn’t need to enter your password unless you’ve changed the root password for your account, otherwise you’ll get an error establishing connection with the database. You should see this screen when the installation is successful:
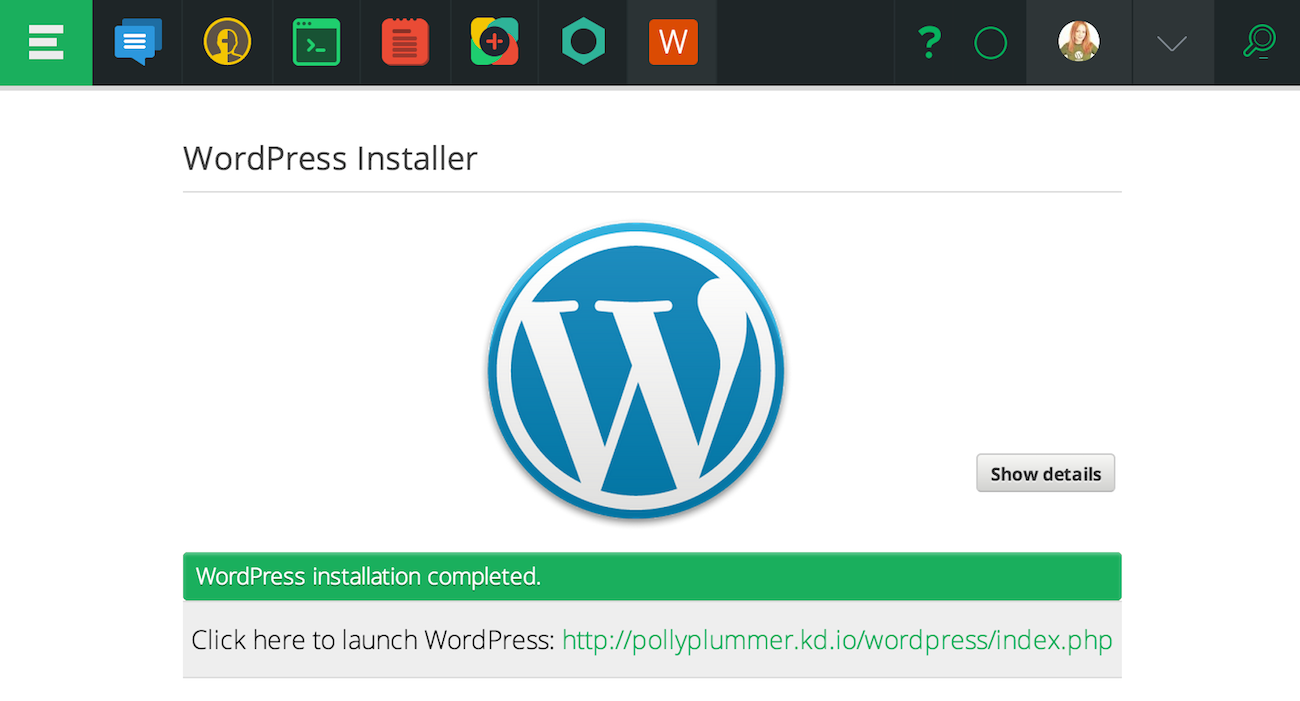
Click on the link to begin the famous 5-minute installation process. Once it finishes, you’ll be able to log into your new WordPress development site at http://username.kd.io/wordpress/
Wondering where to find your WordPress files? You can access them on the Dev Tools screen. WordPress is installed under the /Web/wordpress directory. Here you can view and edit any of the files in the app.

Step 3: Install FTP
In order to install themes and plugins you’ll need to first install FTP and connect it to your VM. Go to Terminal and install the PureFTPd apt-get package, by entering: sudo apt-get install pure-ftpd. Your Koding password is your root password, and you’ll be prompted to enter it.

Type “help ftp” in the terminal to display your host and username. This will give you the information you need to connect to FTP via Filezilla or another external client. The credentials follow this format:
Host: ftp.koding.com
User: username@vm-0.username.koding.kd.io
Password: < your Koding password >
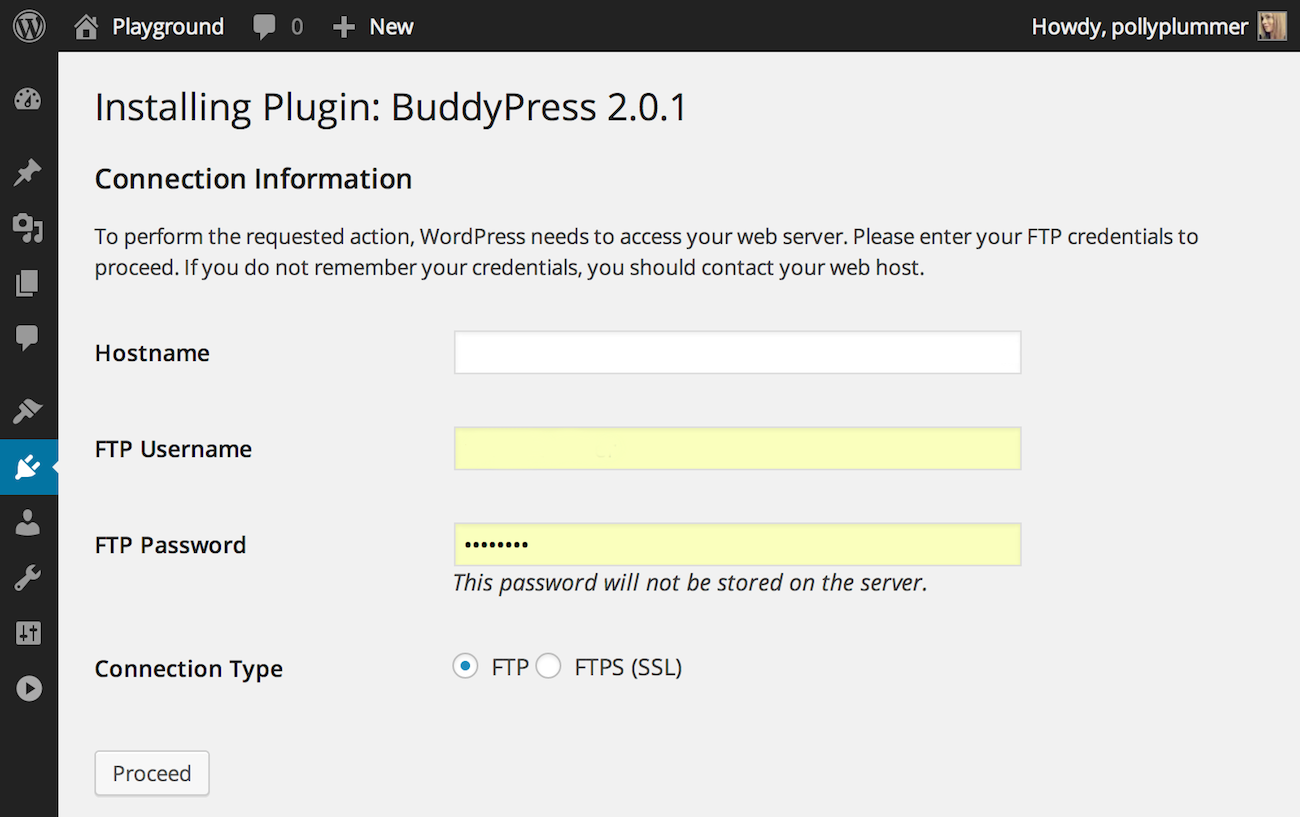
However, when you’re trying to install a plugin or theme in the WordPress admin, your host will be “localhost.” The FTP username will be your Koding username and the password is your Koding password. Enter this info on the connection information screen when prompted and you’ll be able to install plugins and themes:
That should get you started, but there’s a lot more you can do. If you’re a plugin developer you can conduct unit testing with phpunit. You can even use your own domain name for free with Koding.
One advantage of working with a cloud-based IDE is that it doesn’t take up any of your computer’s resources. Your code is available anywhere that you have an internet connection. Setting up a WordPress development environment on Koding makes it easy to experiment with new plugins or themes and collaborate with other developers, even when running on the free developer plan. In under ten minutes you can be up and running, ready to start coding up experiments on a live server with public previews.
Sorry but I don’t find any WordPress App. It seems that is not supported.
Please could you verify ?