When I wrote about enhanced plugin installs being removed from WordPress 4.2 last week, a few readers asked how I created the animated image that shows how shiny updates work. I used LICEcap by Çockos Incorporated, which is free, GPL licensed software available for Windows and OSX.
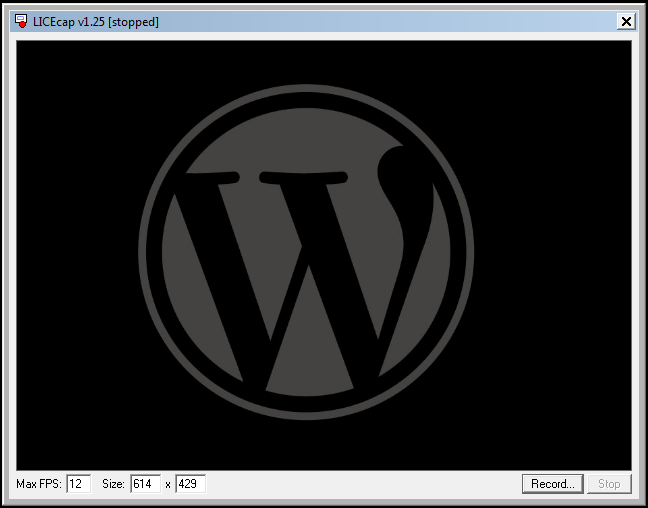
LICEcap has an adjustable frame that you place over the content you want to record. You can adjust the frame manually by dragging the edges with your mouse cursor, or you can type in an exact size. You can also adjust the max frames per second, but keep in mind that the higher the number, the larger the file size will be.
When you hit the record button, you’ll be prompted to name the file and select where it will be saved. There’s also configuration settings that allow you to manipulate the recording.

I don’t know what most of the options do and LICEcap doesn’t have any documentation outside of this discussion forum. I recommend checking the box to use Control + Alt + P to pause the recording. This way, you won’t see the mouse cursor move off the screen to click the pause button. LICEcap doesn’t have an editor to manage frames so if you make a mistake, you’ll have to start over. Since animated GIFs should be as short and small as possible, the lack of a frame editor isn’t a big deal.
Once everything is configured, click the save button and a three second countdown begins. When the countdown reaches 0, LICEcap begins recording movement within the frame. On the bottom left of the recording window, you’ll see the size of the frame, timestamp, and the amount of FPS.

Once you’re satisfied with the recording, upload the GIF file to the WordPress media library. When you insert it into a post, make sure to use the full size image since animated GIFs don’t scale as well as JPG files.
A Few Tips When Creating Animated GIFs
Keep the recording as short and small as possible. Resize the recording window so it’s only as big as necessary. Animation such as scrolling and page browsing should be kept to a minimum. Last but not least, play with the recording options as there might be a combination that decreases the file size of recordings.
Animated GIFs are great for a few laughs, but they’re also an excellent way to show how something works. They’re a great option when using video doesn’t make sense. What do you use or recommend to record screen captures in GIF format?
I love LICEcap, even if it sounds like a hat you wear to keep your hair safe from getting lice. ;)