There are many ways to set up a Vagrant-based development environment for WordPress. It’s likely that you’ve come across Varying Vagrant Vagrants in your searches. VVV is probably one of the most popular Vagrant configurations for WordPress, but it may include more than you need. If you’re not contributing to WordPress core, then you may not need the /src and /build directories.
VagrantPress is an alternative to VVV, created by Chad Thompson. It sets up a WordPress development environment with Vagrant/Puppet that is geared toward developing themes and plugins. Thompson started the VagrantPress project in order to work on child themes for a WordPress blog.
What’s Included with VagrantPress?
The LAMP stack that you get with VagrantPress includes:
- A virtual machine running the 12.04 LTS (32-bit) version of Ubuntu.
- The Apache2 WebServer
- PHP5
- The MySQL Database
Getting Started With VagrantPress
VagrantPress is a good option for you if you’re already using Puppet as part of your development workflow and if you want to use Apache instead of NGINX. It’s also simple to set up if the scope of your work is mostly limited to theme and plugin development.
Let’s walk through the process of setting up a dev environment with VagrantPress. (Note: Steps 1 and 2 can be omitted if you already have working copies of VirtualBox and Vagrant).
Step 1: Download and Install a copy of VirtualBox.
Step 2: Download and Install a copy of Vagrant.
Step 3: Clone a copy of the VagrantPress project into a vagrantpress directory.
git clone git://github.com/chad-thompson/vagrantpress.git vagrantpress
Step 4: Switch to the vagrantpress directory
cd vagrantpress
Step 5: vagrant up to start the provisioning process.
This may take a couple of minutes the first time:
vagrant up
Once it’s finished you’ll see something like this:

What is it doing? The puppet scripts will install all of the following:
- Ubuntu Precise (12.04)
- WordPress 3.8
- Mysql
- Php
- Phpmyadmin
- Subversion
- PEAR
- Xdebug
- PHPUnit
- phploc
- phpcpd
- phpdcd
- phpcs
- phpdepend
- phpmd
- PHP_CodeBrowser
- WordPress sniffs for phpcs
- WordPress Unit Tests
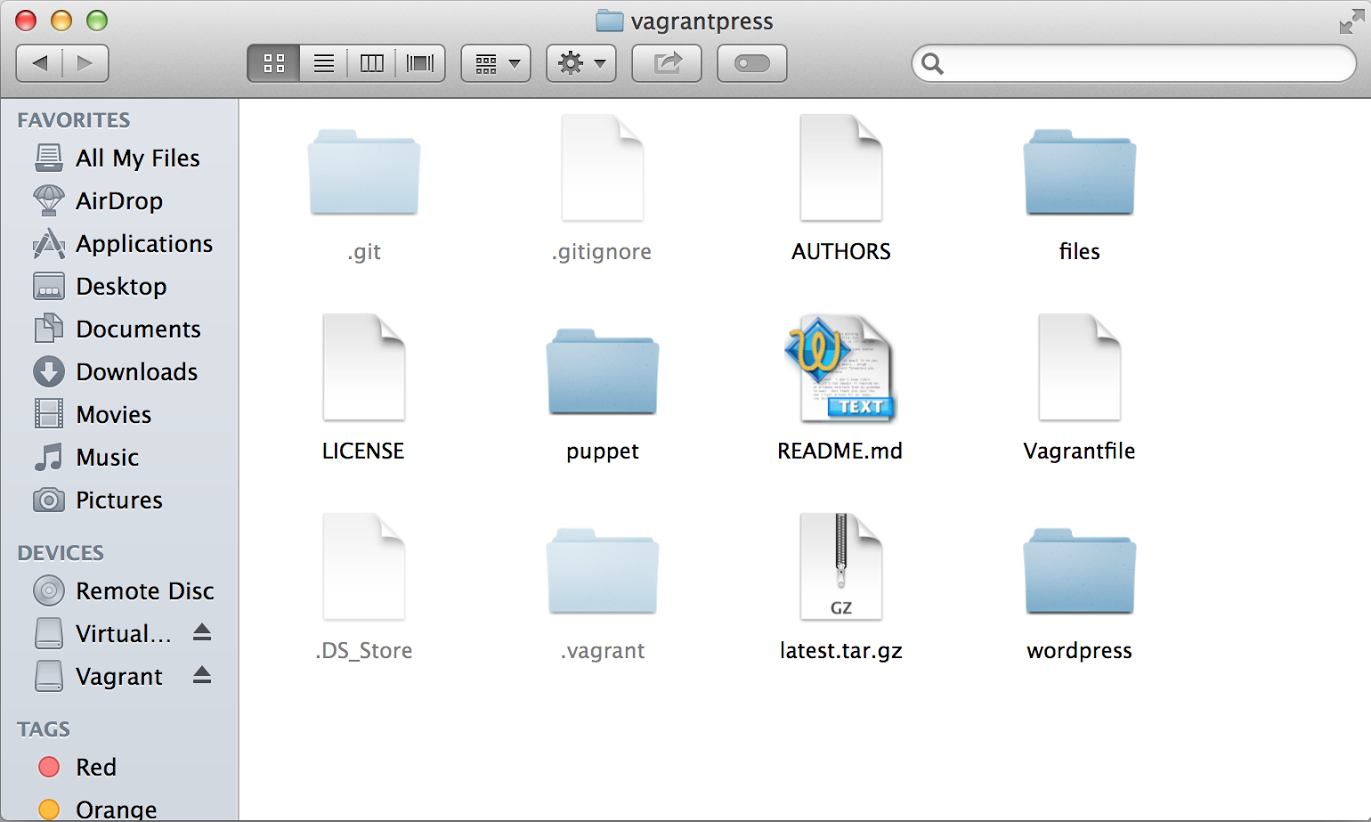
Once the process is finished, here’s what you’ll find inside your vagrantpress directory:
Step 6: Visit your new WordPress development site.
Got to this location in your browser to pull up your dev site:
http://localhost:8080/wp-admin/
Login Credentials:
username: admin
password: vagrant
phpMyAdmin access:
http://localhost:8080/phpmyadmin/
username: wordpress
password: wordpress
Congratulations – You now have a working development site at your disposal.
Clone a Theme or Plugin to Your Development Site
With a clean installation of WordPress you can now start working on your plugins and themes. Just pull them into your development site. Here’s a quick example of grabbing a theme hosted on github. Your vagrantpress directory has a wordpress folder inside. Switch to the themes directory:
cd wordpress/wp-content/themes
Clone the theme repo to your development site:
git clone https://github.com/pollyplummer/ex-astris.git
Now you’re off and running. You can probably have the whole thing set up in under 10 minutes. If you need support, join the mailing list / Google Group set up for the project.
The Future of VagrantPress
Thompson has created a roadmap for what he’d like to do with VagrantPress in the future. He’s working on integrating WP-CLI in the development branch, a must-have if the project is to gain a greater audience. He would also like to tie the development environment in with an option for creating/contributing to real deployment environments, as he outlined here:
The strength of the vagrant/puppet approach to development environments is that your development environment can mimic production environments ‘better’ than approaches like local PHP installs, MAMP, etc. While doing all of this work in vagrant, why not make packaging your environment into a re-deployable unit using puppet or docker on production systems? I want to make that transition easier than it is in the project today.
Thompson plans to transition the VagrantPress project from his personal Github account to a ‘VagrantPress’ organization account in order to help make the project more visible and emphasize the community-driven aspect. If you’d like to help contribute to VagrantPress, get in touch on Github.
This is awesome! I wish I could get it to work…. when I get to booting the box up (vagrant up), it just gives me a repeating error “Connection timeout”. :(